The current waterproof trapping is roughly divided into 3 points, the first is the roof trap, the second is the wall trap, and the third is the interior floor trap. If it is a roof (sky) leakage, the traditional method is to use a bitumen-like membrane, but we all know that this stuff is not environmentally friendly and is most inappropriate for families with elderly people, children or pregnant women. Asphalt can not withstand the wind and sun, can not stand the heat expansion and contraction, a long time, it will begin to leak. If the indoor floor leaks, use the traditional method that is to pick the tile, dig waterproof layer, redo waterproof, the biggest advantage is that if you work carefully, the effect is good.
Bathroom waterproof trapping construction process
1. Brush the first time waterproof coating. Before construction, ensure that the construction site is clean and dry. The waterproof coating should be applied completely, with no omissions. It must be firmly bonded to the grass roots, free from cracks, bubbles, and shedding. The brushing height is the same. The thickness must meet the product requirements.
2. Brush the second time waterproof coating. Note that there is a certain time interval between the first and second pass of the waterproof coating. After the first pass of the coating, the second pass can be performed. The specific time depends on the coating. The interval time is too short, the effect of waterproofing will be greatly reduced, so it should be noted that the construction workers have not lazily in this respect.
3. Spread the protective layer. In order to prevent the subsequent construction from damaging the waterproof layer, a protective layer should be applied on the surface of the waterproof coating. The protective layer must completely cover the waterproof layer without any omission. It has a firm bond with the grass roots, no cracks, no bubbles and no shedding.
4. Closed water test. In the closed water test, the water at the highest point on the ground must not be lower than 2 cm, and it should be stored for at least 24 hours, and it should be considered as qualified after observing no leakage. If there is leakage, you need to redo it, and you must not neglect it.
Construction points
1. In order to ensure waterproof safety, the shower and the waterproof requirements of the walls, the waterproof layer must be 1.8 meters high. The height of the rest of the room is 30 cm.
2.Waterproofing should also be done in the waterway modification slot. According to experience, leaks are most likely to occur in places such as floor drains, yin and yang corners, and pipelines. Therefore, when doing waterproofing, special attention must be paid to these areas. Do not omit them. If possible, waterproof them more.

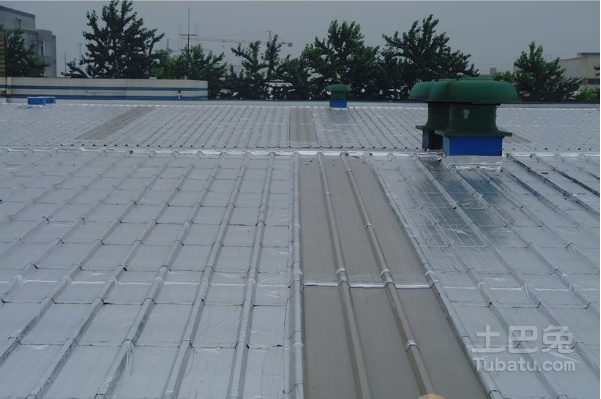
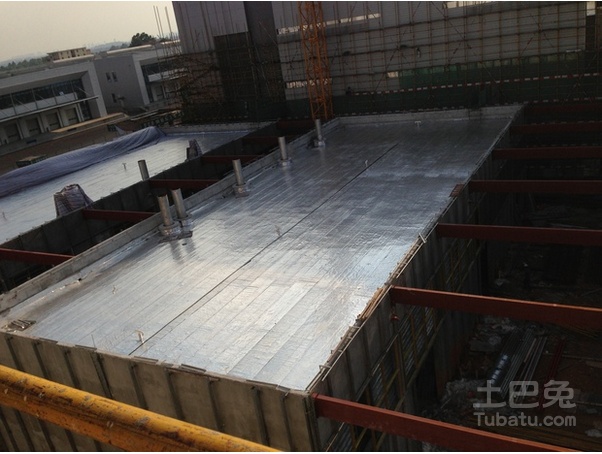
Roof waterproof plugging construction process
1. When the weather is fine, ensure that the building itself is dry. (If it is not rainy, if the building itself is not very dry, you can blow it to the wet place with a hair dryer.)
2. Check if there is any obvious gap in the leaking place. If there is, fill it with cement and wait. If not, don't care.
3, with a brush directly applied to the leaking part of the building, once again, 12 hours can not be splashed into the coated position. After 12 hours, the problem of leaking houses was completely solved.

According to industry insiders, the waterproofing of the bathroom is one of the places where the home decoration is most prone to problems. Due to quality problems, the customer's complaints occupies a large proportion in the total number of decoration complaints. The waterproof construction of the bathroom has its particularity. Once the leakage occurs, the unforeseen effects caused by it are many, it is a headache, it is easy to cause conflicts between the neighbors, and maintenance is also very troublesome. Therefore, when we carry out home renovations, we must pay enough attention to the waterproofing of toilets.