Now our new homes are mainly based on rough houses, so we also need to decorate the rough room before they can stay. For the first time the owner of the renovation, rough room decoration is also a problem, then how to decorate the rough room, below This article will introduce you to the next step in the renovation of the rough house .
Blank room renovation steps
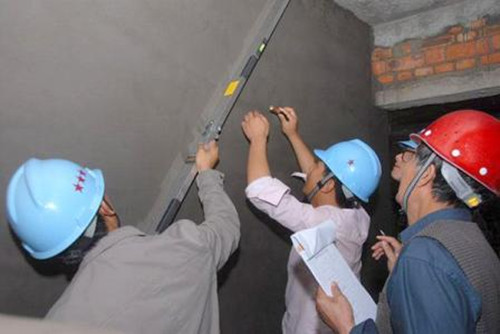
1, clear the main wall size
When we are decorating the rough house, we first need to understand the area that needs renovation, especially the area of ​​the tiling, the area of ​​the wall paint, the area of ​​the wallpaper, and the area of ​​the floor. It's best to measure it personally and have a good idea.
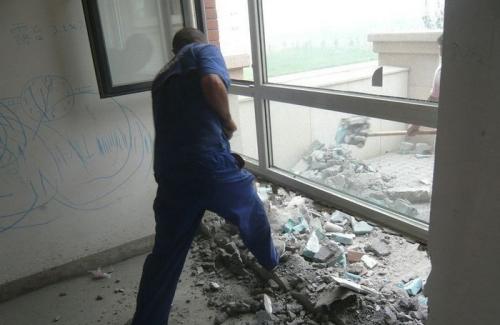
2, the main transformation
The theme of transformation refers to the demolition of walls, walls, shovel wall, demolition of heating, change steel windows and so on. The dismantled garbage should be cleaned up in time to ensure the cleanliness of the interior and facilitate the subsequent construction.
3, hydropower reform
Hydropower reconstruction, try not to regret it. Because once the tiles and ceilings are installed, it's more difficult to add outlets. Therefore, be sure to determine the exact location of switches, lamps, basins, bathtubs, washing machines, etc. Before the hydropower reform, the cabinet designer should come to the door to make the first measurement and help you determine the power and waterway reconstruction plan. Water heaters, it is also best to send someone to design the location of the power supply and the interface according to the model you have determined.

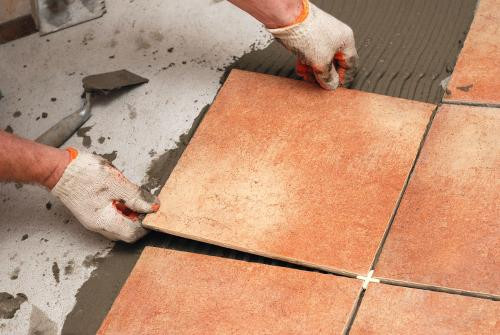
4, floor tile laying
Before tiling, buy a floor drain. After finishing waterproofing and pulling hair, prepare a tiling. Tiles should pay attention to soaking in the water, dry, broken tile can be left to do cutting, so that the floor in the indoor laying more beautiful.
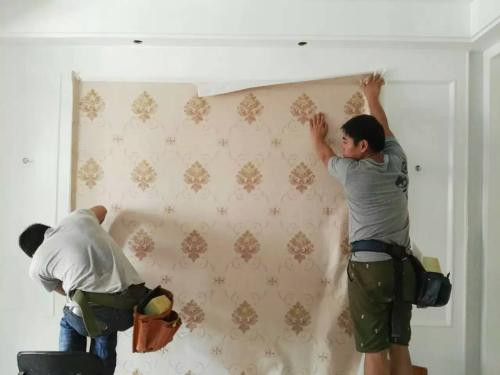
5, beautify the rough room wall
Commonly used beautifying walls are brushed and wallpapered, and wallpapers are much better than wall paints. After the wall paint is brushed, the oil trader will apply nitro-lacquer to the place where the wallpaper is to be applied. The paint can dry after the next day, and then the master can paste the wallpaper. Note: Do not open the window for ventilation within 48 hours after the wallpaper has been posted. Let it dry slowly.
6, kitchen and ceiling installation
The ceiling installation of kitchen and bathroom is very important. Usually it needs to be installed first in the rough room. When the kitchen ceiling is installed, it is necessary to install the moisture-proof ceiling lamp, the exhaust fan and the bathroom heater at the same time. At the same time, heads and openings must be reserved.

7, cabinet installation
After the ceiling installation of the kitchen and toilet is completed, the cabinets can be installed in almost one day. When the cabinets are installed, the sink, the gas stove, and the range hood need to be installed together.

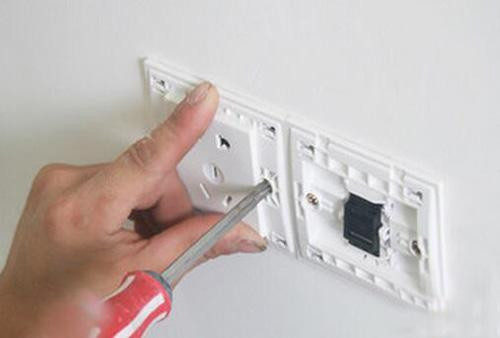
8, switch socket installation
As a user of a house, you must be aware of the number and location of switch sockets in your home, and make a clear Geely. If your home has a wallpaper, it is best to place the socket logo in the corresponding position.
Editing summary: About the rough room renovation steps introduced here, I hope to be helpful to everyone. If you want to know more related information, you can pay attention to this website information.
Decoration costs budget for second-hand housing renovation
Veneer is a thin sheet of wood, rotary cut, sliced or sawed from expensive natural wood. The veneer is easy to be edge jointed and overlaid on Plywood, MDF, particleboard and so on. So, it can be used in fancy plywood, fancy MDF, fancy Blockboard and veneer faced particleboard.
Luli Group Co., Ltd, also supply engineered wood veneers with good quality and competitive pricing.
Advantages of using veneers:
Compared to wood, one of the primary advantages of using veneer is stability. While solid wood can be prone to warping and splitting, because veneer is made of thin layers of wood glued together, the chances of splitting or cracking are reduced. Further, the glue used provides additional strength, making the end result stronger than natural wood.
Usages of Veneer:
Used to cover the surface of plywood, MDF, chipboard, blockboard and so on.
Specification details:
Sizes: 1220mm x 2440mm, 1250mm x 2500mm or as your request
Thickness: From 0.15mm to 0.6mm or as per request
Species: Okoume, Bintangor, Terminalia, Red hardwood, etc.
Grade available: A/A, A/B, B/B
Cutting way: Rotary cutting

Veneer
Wood Veneer,Wood Poplar Veneer,Sapele Veneer,Rosewood Veneer
Luli Group Co.,Ltd. , https://www.plywoods.nl